Why You'll Love It
- - No oven needed, just a fridge
- - Naturally gluten‑free and vegan
- - Fresh berries give bright contrast
- - Prep can be done ahead for stress‑free serving
*"The tart is as smooth as a cloud, and the berries add the perfect pop of freshness—my family can’t get enough!"*
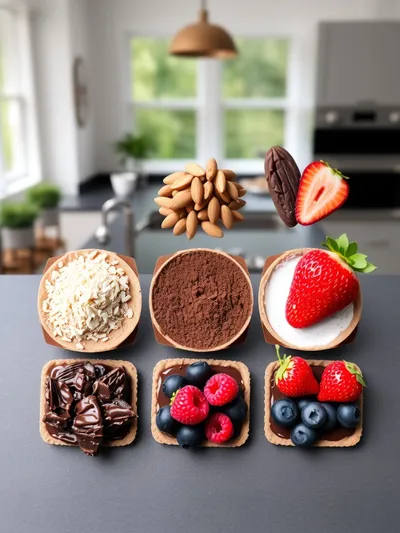
Essential Ingredient Guide
- Dates for crust: Choose soft Medjool dates; they bind the nuts together with natural sweetness.
- Almonds or walnuts: Raw nuts give a buttery crunch; toast lightly for extra aroma.
- Coconut cream: Full‑fat coconut cream provides richness without dairy.
- Cocoa powder: Use unsweetened, high‑quality cocoa for deep chocolate flavor.
- Maple syrup: Adds a gentle sweetness that balances the bittersweet cocoa.
- Fresh mixed berries: Pick berries at peak ripeness for natural juiciness and color.
Complete Cooking Process
-
Ingredient Readiness:
Soak dates in warm water for 10 minutes, pulse nuts into fine crumbs, and chill berries.
-
Flavor Development:
Blend crust ingredients, press firm, then whisk cocoa mixture until glossy.
-
Texture Control:
Layer cocoa filling, smooth the top, and let it set in the fridge for at least 2 hours.
-
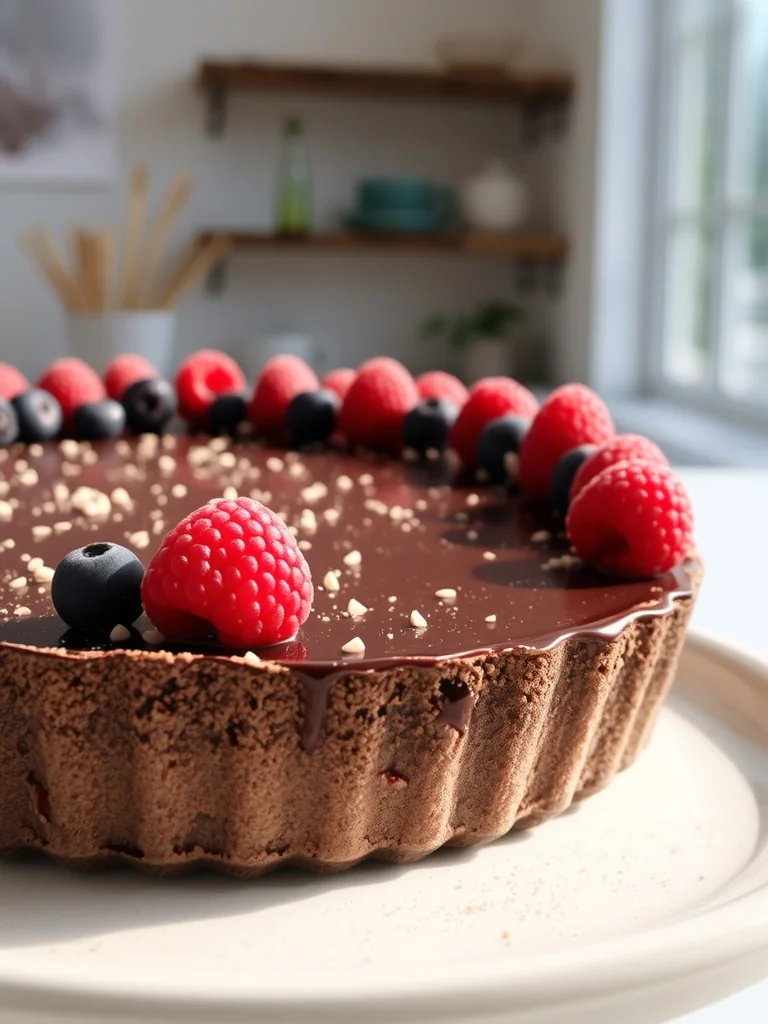
Finishing Touches:
Arrange berries artfully, drizzle a hint of maple, and dust with cocoa nibs.
-
Serving Timing:
Serve chilled, ideally within 24 hours for peak freshness.
- Pat dates dry after soaking to avoid soggy crust
- Use a food processor for a uniform crust texture
- Let the tart chill undisturbed for a clean slice
- Garnish with a sprig of mint for extra aroma
Pro Tips
Well, those little adjustments make a world of difference. I remember once forgetting to pat the dates dry, and the crust turned a bit mushy—oops! Take a moment, trust the process, and the tart will reward you with a firm, buttery base that holds the berries beautifully.
The essence of the dish:
A fun fact or historical angle:
Flavor or sensory focus:
You Must Know
- The crust sets faster when chilled on a metal tray
- Cocoa powder can be gritty; sift before mixing
- Berries should be added just before serving to stay fresh
Frequently Asked Questions
→ Can I use other nuts for the crust?
Absolutely—pecans, cashews, or hazelnuts work wonderfully; just adjust the pulse time for texture.
→ What if I don’t have coconut cream?
You can substitute with thickened oat or soy cream, but the flavor will be slightly less rich.
→ How long can the tart be stored?
Keep it covered in the fridge for up to three days; the berries stay fresh if added right before serving.
→ Can I freeze the tart?
Yes, freeze the crust and filling separately, then assemble after thawing for best texture.
→ Is this recipe gluten‑free?
Yes, all ingredients are naturally gluten‑free.
→ Can I sweeten it with agave instead of maple?
Sure, agave works, but use a touch less as it’s sweeter than maple syrup.
Chef's Tips
If the crust feels too crumbly, add a little more melted coconut oil.,For extra shine, brush the berries lightly with apricot jam diluted in water.,Taste the filling before chilling; adjust sweetness with a splash more maple if needed.
Nutrition Facts
per serving
280
Calories
4g
Protein
28g
Carbs
20g
Fat
Taste Profile
Rich chocolate with bright berry contrast
Ingredient Substitutions
Don't have an ingredient? Try these alternatives
Cashews give a creamier texture; sunflower seeds are nut‑free.
Agave is sweeter; reduce amount slightly.
Recipe Variations
Try these delicious twists on the original
Spicy Version
Add a pinch of cayenne and a drizzle of dark chocolate for a subtle kick.
Mediterranean Style
Swap berries for figs and garnish with toasted pistachios and orange zest.
Common Mistakes to Avoid
Learn from others' mistakes for perfect results
- Over‑processing nuts, leading to a pasty crust.
- Using warm coconut cream, which won’t set properly.
- Adding berries too early, causing them to release excess juice.
Meal Prep & Storage
Make Ahead Tips
You can prepare the crust and filling up to 24 hours ahead; store each separately and assemble just before serving.
Leftover Ideas
Keep leftovers chilled; any unused berries can be tossed into a smoothie.
Perfect Pairings
Serve this with...
Cooking Timeline
Soak dates and pulse nuts for crust.
Press crust into pan and chill.
Whisk chocolate filling until smooth.
Layer filling, refrigerate to set.
Arrange berries and garnish before serving.
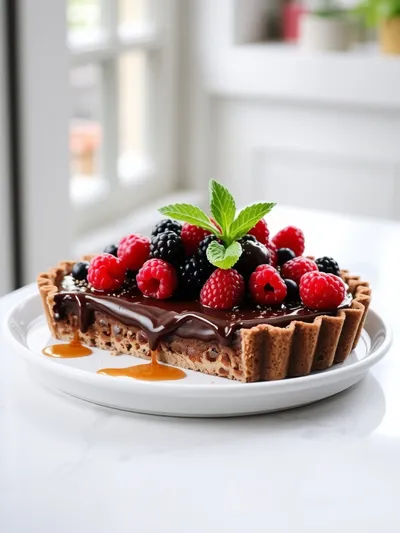
No-Bake Chocolate Berry Tart
A silky no‑bake chocolate berry tart that feels like a whisper of cocoa and fresh berries, perfect for a quick, gluten‑free vegan indulgence.
Timing
Prep Time
15 Minutes
Cook Time
0 Minutes
Total Time
2 Hours 15 Minutes
Recipe Details
Ingredients
Crust
- 01 1 cup Medjool dates, pitted
- 02 1 cup raw almonds (or walnuts)
- 03 1 tbsp melted coconut oil
- 04 Pinch of sea salt
Filling
- 01 1 ½ cups full‑fat coconut cream, chilled
- 02 ½ cup unsweetened cocoa powder
- 03 ¼ cup maple syrup
- 04 1 tsp vanilla extract
Topping
- 01 2 cups mixed fresh berries (strawberries, blueberries, raspberries)
- 02 Optional: fresh mint leaves for garnish
Instructions
Soak dates in warm water for 10 minutes, then drain and pat dry.
In a food processor, pulse the nuts until fine crumbs, add dates, coconut oil, and salt, then blend until the mixture sticks together when pressed.
Press the crust mixture firmly into the base of a 9‑inch springform pan, creating an even layer; refrigerate while you prepare the filling.
In a chilled bowl, whisk coconut cream until smooth, then fold in cocoa powder, maple syrup, and vanilla until fully combined.
Spread the chocolate filling over the chilled crust, smoothing the top with a spatula; return to the fridge and set for at least 2 hours.
Just before serving, arrange fresh berries on top, drizzle a tiny bit of maple if desired, and garnish with mint.
Notes & Tips
- 1 If the crust feels too crumbly, add a little more melted coconut oil.
- 2 For extra shine, brush the berries lightly with apricot jam diluted in water.
- 3 Taste the filling before chilling; adjust sweetness with a splash more maple if needed.
Tools You'll Need
-
Food processor
-
Springform pan
-
Spatula
-
Mixing bowls
-
Measuring cups and spoons
-
Refrigerator
Must-Know Tips
- Don't over‑process nuts; a slight texture adds bite.
- Let the crust chill before adding filling to avoid collapsing.
- Taste the filling before setting to perfect sweetness.
Professional Secrets
- Use chilled coconut cream for a glossy, firm set.
- Sift cocoa powder to avoid gritty pockets.
- Press the crust with a flat glass to achieve an even surface.
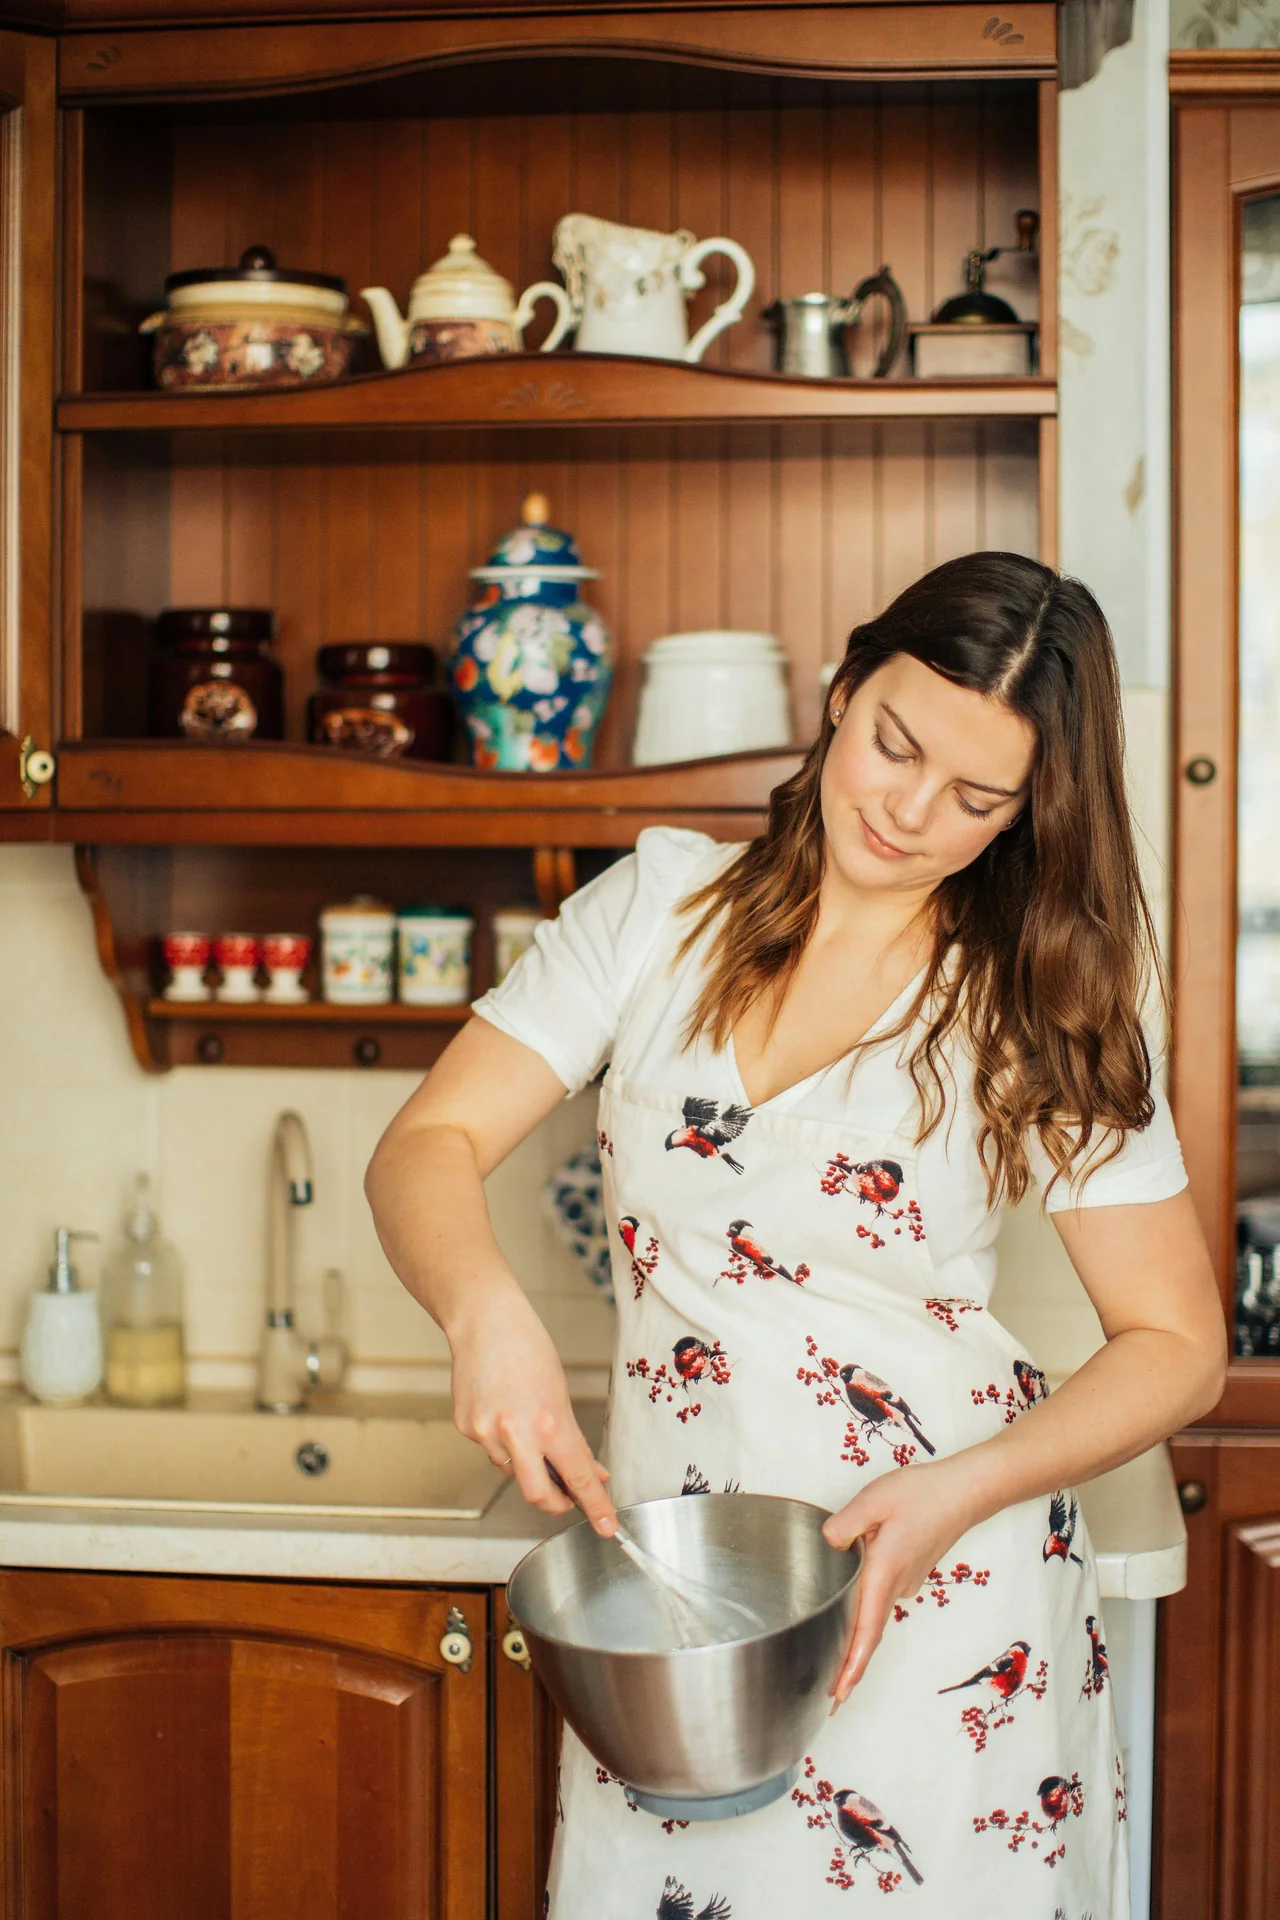
Recipe by
Valentina MorettiChef Valentina Moretti developed her passion for baking while growing up near traditional European bakeries. She focuses on classic pastries like croi ...
Get Delicious Recipes Weekly
Join 25,000+ home cooks getting our best recipes straight to their inbox.
Free forever • No spam • Unsubscribe anytime