Why You'll Love It
- - No baking required, perfect for hot days
- - Versatile flavors – swap vanilla for strawberry or coffee
- - Simple assembly makes it kid‑friendly
- - Beautiful presentation without fuss
*"The cake was a hit – creamy, light, and just the right amount of sweet!"*
Essential Ingredient Guide
- Cake layers: Choose a light vanilla or butter cake; homemade or store‑bought both work, but ensure they’re fresh and soft.
- Ice cream: Full‑fat vanilla ice cream yields the richest flavor; let it soften for easy spreading.
- Whipped cream: Adds an airy finish; lightly sweetened whipped cream balances the richness.
- Fruit glaze: A quick raspberry glaze adds a bright contrast and a hint of tartness.
- Lemon zest: Provides a subtle citrus lift that brightens each bite.
- Chocolate shavings: Optional garnish for texture and visual appeal.
Complete Cooking Process
-
Ingredient Readiness:
Slice the cake, soften the ice cream, and whisk the whipped cream until soft peaks form.
-
Flavor Development:
Spread a thin layer of fruit glaze on each cake slice to create a moist barrier.
-
Texture Control:
Layer ice cream between the glazed cake slices, pressing gently to avoid cracks.
-
Finishing Touches:
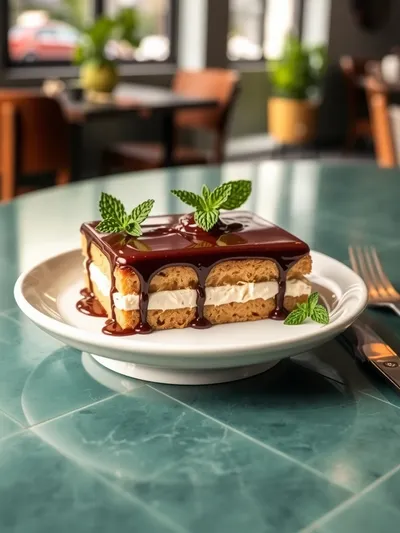
Top with a swirl of whipped cream, sprinkle lemon zest, and add chocolate shavings.
-
Serving Timing:
Freeze the assembled cake for at least one hour before slicing to ensure clean cuts.
- Use parchment paper between layers to prevent sticking
- Chill the cake pan for a sturdier structure
- Serve with fresh berries for extra brightness
Pro Tips
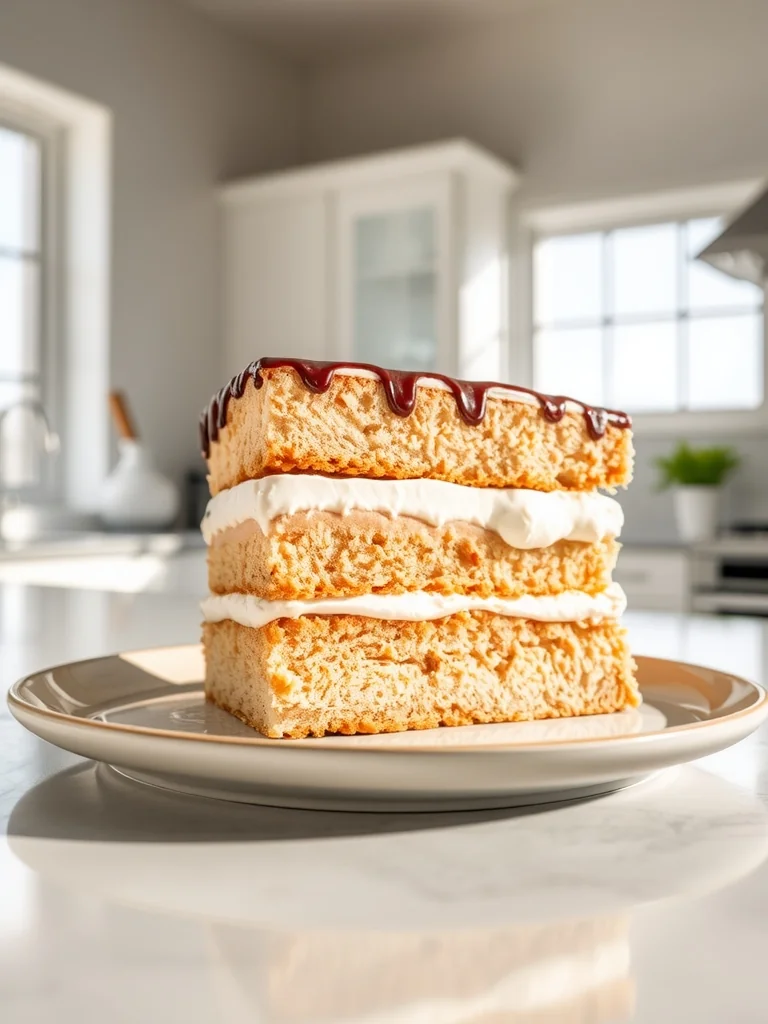
Well, once the cake is set, it’s a joy to pull a slice and see the creamy center peeking through. I remember the first time I made this for a family gathering – the kids were thrilled, and the adults appreciated the elegance without any fuss. It’s one of those desserts that feels both nostalgic and fresh, a little reminder that simple pleasures still matter.
The essence of the dish:
A fun fact or historical angle:
Flavor or sensory focus:
You Must Know
- Keep everything cold until assembly
- Press gently; too much force cracks the cake
- Allow a brief rest after frosting for the best slice
Frequently Asked Questions
→ Can I use a gluten‑free cake?
Absolutely – substitute a gluten‑free vanilla cake, and the texture will remain light and airy.
→ What ice‑cream flavors work best?
Vanilla is classic, but strawberry, coffee, or mint chocolate chip add fun twists.
→ How long can the cake be stored?
Wrapped tightly, it keeps in the freezer for up to three days.
→ Do I need to bake the cake myself?
No need; a good store‑bought sponge works perfectly.
→ Can I add fresh fruit inside?
Yes, thin slices of strawberry or banana add juicy bursts, just be sure they’re well‑drained.
→ Is this dessert suitable for a potluck?
Definitely – it transports well if kept cold and assembled shortly before serving.
Chef's Tips
Work quickly once the ice cream is softened to prevent melting.,If the cake becomes too soft while assembling, return it to the freezer for a few minutes.,For extra flavor, swirl a ribbon of caramel or fruit puree into the whipped topping.
Nutrition Facts
per serving
420
Calories
6g
Protein
45g
Carbs
22g
Fat
Taste Profile
Creamy sweet with a hint of citrus brightness
Ingredient Substitutions
Don't have an ingredient? Try these alternatives
Provides a dairy‑free alternative; flavor slightly tropical.
Offers a sweeter note; reduce added sugar if using.
Recipe Variations
Try these delicious twists on the original
Spicy Version
Add a pinch of cayenne to the whipped cream and drizzle a thin layer of chocolate‑chili sauce.
Mediterranean Style
Swap vanilla ice cream for pistachio, garnish with crushed pistachios and a drizzle of honey.
Common Mistakes to Avoid
Learn from others' mistakes for perfect results
- Allowing ice cream to melt too much before spreading
- Skipping the glaze, leading to a dry cake surface
- Cutting the cake before it’s fully set, causing crumbling
Meal Prep & Storage
Make Ahead Tips
You can assemble the cake layers and wrap tightly, then freeze for up to two days; add whipped topping just before serving.
Leftover Ideas
Keep leftovers wrapped in the freezer; slice and let sit a few minutes at room temperature before serving.
Perfect Pairings
Serve this with...
Cooking Timeline
Gather all ingredients and tools, line board with parchment.
Brush first cake layer with raspberry glaze.
Spread softened ice cream evenly, place second cake layer.
Whip cream, spread on top, add zest and chocolate.
Wrap cake, freeze for at least one hour.
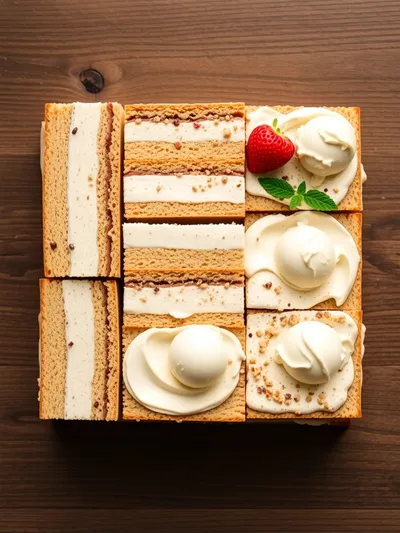
Ice Cream Sandwich Cake: A Cool Dessert Treat
Layer creamy ice cream between soft cake slices for a delightful Ice Cream Sandwich Cake that’s perfect for any gathering.
Timing
Prep Time
20 Minutes
Cook Time
0 Minutes
Total Time
1 Hour 20 Minutes
Recipe Details
Ingredients
Cake Layers
- 01 2 pre‑made vanilla cake rounds (about 8 inches)
- 02 1/4 cup raspberry glaze (store‑bought or homemade)
Filling
- 01 2 pints vanilla ice cream, softened
- 02 1 cup heavy whipping cream
- 03 2 tbsp powdered sugar
- 04 1 tsp vanilla extract
Garnish
- 01 2 tsp lemon zest
- 02 2 tbsp dark chocolate shavings
- 03 Fresh berries (optional)
Instructions
Place one cake round on a parchment‑lined board, brush lightly with the raspberry glaze to create a moist barrier.
Spread a generous layer of softened vanilla ice cream over the glazed surface, smoothing with a spatula.
Top with the second cake round, press gently, and brush the top with the remaining glaze.
Whip the heavy cream with powdered sugar and vanilla until soft peaks form; spread over the top of the cake.
Sprinkle lemon zest and chocolate shavings, then garnish with fresh berries if desired.
Wrap the assembled cake tightly in plastic wrap and freeze for at least one hour before slicing.
Notes & Tips
- 1 Work quickly once the ice cream is softened to prevent melting.
- 2 If the cake becomes too soft while assembling, return it to the freezer for a few minutes.
- 3 For extra flavor, swirl a ribbon of caramel or fruit puree into the whipped topping.
Tools You'll Need
-
Large serving board
-
Spatula
-
Hand mixer or whisk
-
Parchment paper
-
Plastic wrap
Must-Know Tips
- Don't let the ice cream melt; keep the bowl in an ice bath while spreading
- Let the cake rest after frosting to set the layers
- Taste the glaze; adjust sweetness with a dash of honey if needed
Professional Secrets
- Use room‑temperature ice cream for a smoother spread
- Chill the cake pan to keep layers firm
- Fold in whipped cream gently to keep it airy

Recipe by
Valentina MorettiChef Valentina Moretti developed her passion for baking while growing up near traditional European bakeries. She focuses on classic pastries like croi ...
Get Delicious Recipes Weekly
Join 25,000+ home cooks getting our best recipes straight to their inbox.
Free forever • No spam • Unsubscribe anytime